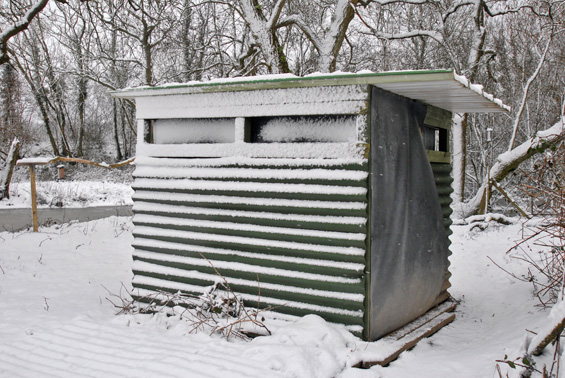
This carries on from Building a Hide (part 1) and looks at how we constructed the structure once we had established the most suitable location.
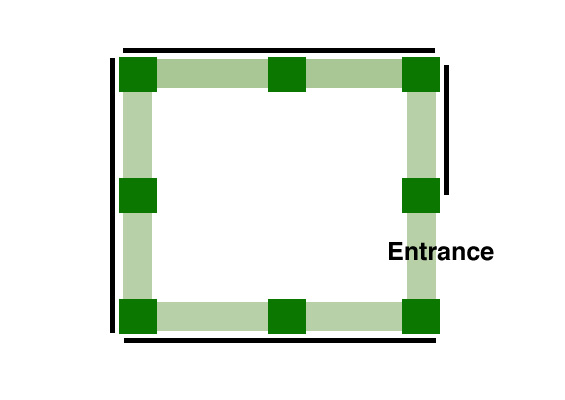
The Basic Frame
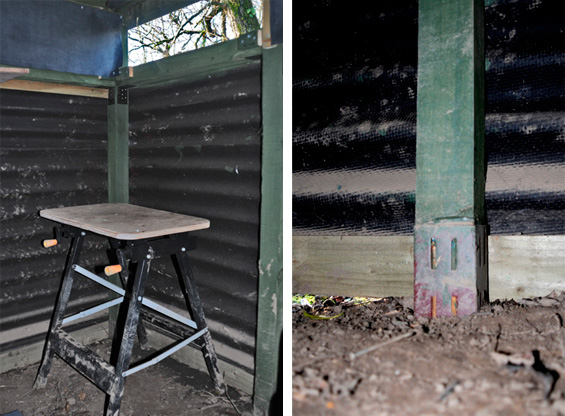
- We used treated softwood timber for the uprights – 8′ x 3″ x 3″. These were sunk into the ground using 24″ metal post spikes. This would give us a headroom of six foot. The structure was to be square and with opening slats on three sides.
- Eight uprights were sunk into the ground to create a two meter square frame. A large spirit level was used to ensure we created a slight angle, two inches across the two meters, for water to run off once the roof was added. 3″ x 1″ planks were laid across the top of the frame, to create a base for the roofing material.
- The sides were made using two Bitumen Corrugated Sheets meters by one meter – Eight sheets covered the whole frame with some handy off cuts that we placed on the ground and are now home to wood mice and toads. We left one of the one metre gaps open for the door.
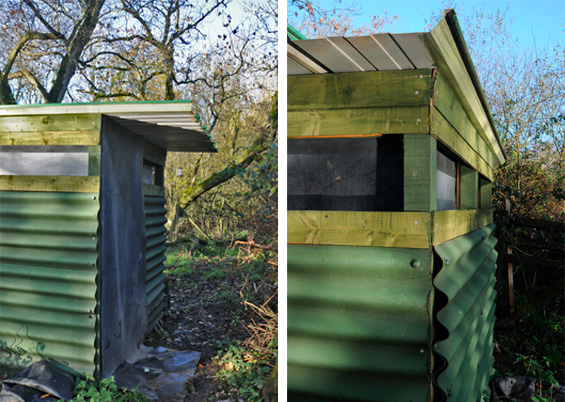
The Roof
- We were fortunate that Gwyn, the farmer, had some roofing sheets left over from a job, which we were free to use. They were metal profile sheeting, that can be used in conjunction with an insulated backing. We just used the sheets and placed them on the top of the frame. We could have used the same material as the sides, but the metal profile is more rigid and carries the two metre span without any sagging.
- Ensure that the run off for the water is in the direction were you will not be pointing you camera – you don’t want continual drips on your lens.
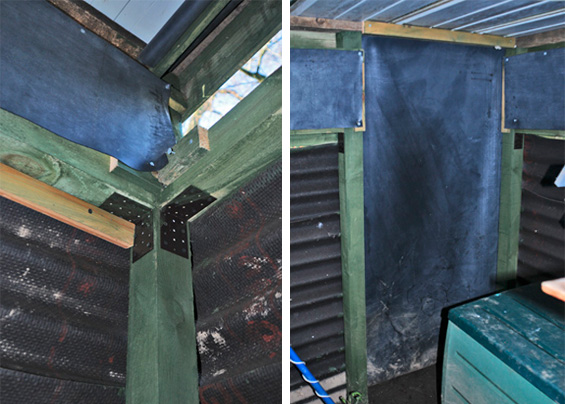
Cross Struts
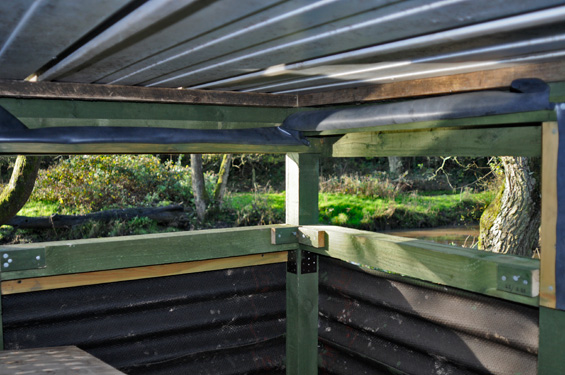
- Between each upright and about a foot from the top we inserted a cross strut using 3″ x 2″ timber cut to length. This served to purposes. Firstly it strengthened the whole structure and secondly it provided the base of the slats and somewhere to rest the camera and bean bag on.
- These were attached to the uprights using angle irons.
The Hide Slats and Door
- These could have been the most problematic but as the hide would only ever be used by ourselves there was no need to go to the bother of hinges and wooden structures that would swing in and out of position. We simply used a good quality pond lining material which could be tacked over the slats and simply rolled up and down when required. It was cheap, very quick, required no wood working skills and has proved very durable. We used the same principle for the door, cutting a six foot by one meter piece that function really well!
- Some treated feather edged slats were used to finish off areas that would have been pretty drafty without some covering.
- An old work bench was used as a seat – a piece of strong ply replacing the adjustable slats that come with the bench.
And that’s about it really. It is a very robust structure, fits well into the landscape and is waterproof. We’re certainly no joiners but it functions perfectly for all our needs. It cost in the region of £250 and should last forever.

